




A beautifully wrapped present says “I took my time” before a single word is spoken. The good news? Neat, elegant wrapping is a skill anyone can learn. All you need is a little patience, a few simple tools and the steps below.
What you will need
- Wrapping paper (a little more than you think)
- Sharp scissors — dull blades tear paper
- Double-sided tape for an invisible finish
- Ribbon, twine or string
- A gift tag or small card
- Optional extras: dried flowers, greenery, a wax seal or a cinnamon stick
Step 1: Start with a box
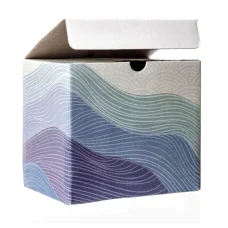
Awkward shapes are the enemy of crisp wrapping. If your gift is soft, round or oddly shaped, place it in a box first. A sturdy patterned box can even be given without paper at all — simply tie it with ribbon.
Step 2: Measure the paper
Place the box upside down in the centre of the paper. You need enough paper to wrap all the way around the box with about 5 cm of overlap, and enough at each end to cover a little more than half the height of the box. Too much paper creates bulky ends; too little leaves gaps.
Step 3: Fold a clean edge
Here is the professional trick: before taping, fold over the long edge of the paper by about 1 cm to create a clean, straight line. Wrap the first side around the box and secure it with a strip of double-sided tape, then bring the folded edge over the top and press it down. No raw edges, no visible tape.
Step 4: Perfect the ends
- Push the top flap of paper down against the end of the box, creasing the sides into neat triangles.
- Fold the two side triangles inwards and crease firmly with your fingernail.
- Fold the bottom flap up — fold its edge over first for a clean line — and secure with double-sided tape.
- Repeat on the other end.
Run your thumb along every edge of the box when you finish. Sharp creases are what make wrapping look expensive.
Step 5: Tie a bow that stays
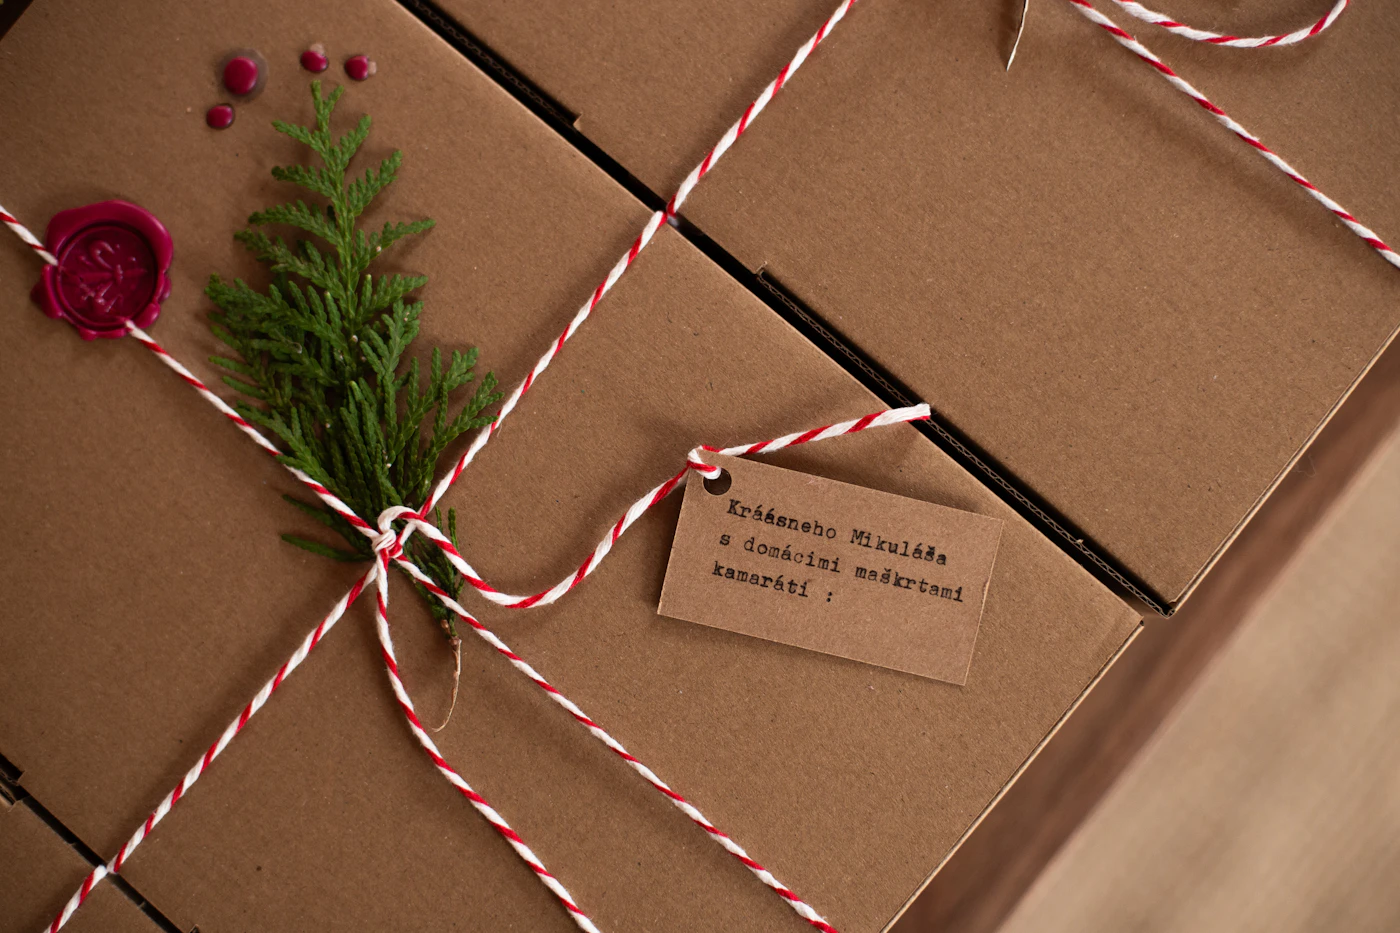
Wrap the ribbon around the length of the box, cross it underneath, and bring it back up around the width. Tie a simple knot at the top and then a classic bow. Trim the ends at a diagonal or in a “V” shape so they don’t fray. For a rustic look, swap ribbon for natural twine wrapped three or four times.
Step 6: Add a personal touch
This is where wrapping becomes your own. Tuck a sprig of eucalyptus or dried lavender under the ribbon, add a small watercolour card instead of a plain tag, or use a wax seal to close the paper. One thoughtful detail is plenty — the aim is charm, not clutter.
Choosing the right paper
Different papers suit different moods:
- Watercolour washes feel calm and elegant — lovely for weddings, christenings and winter gifts.
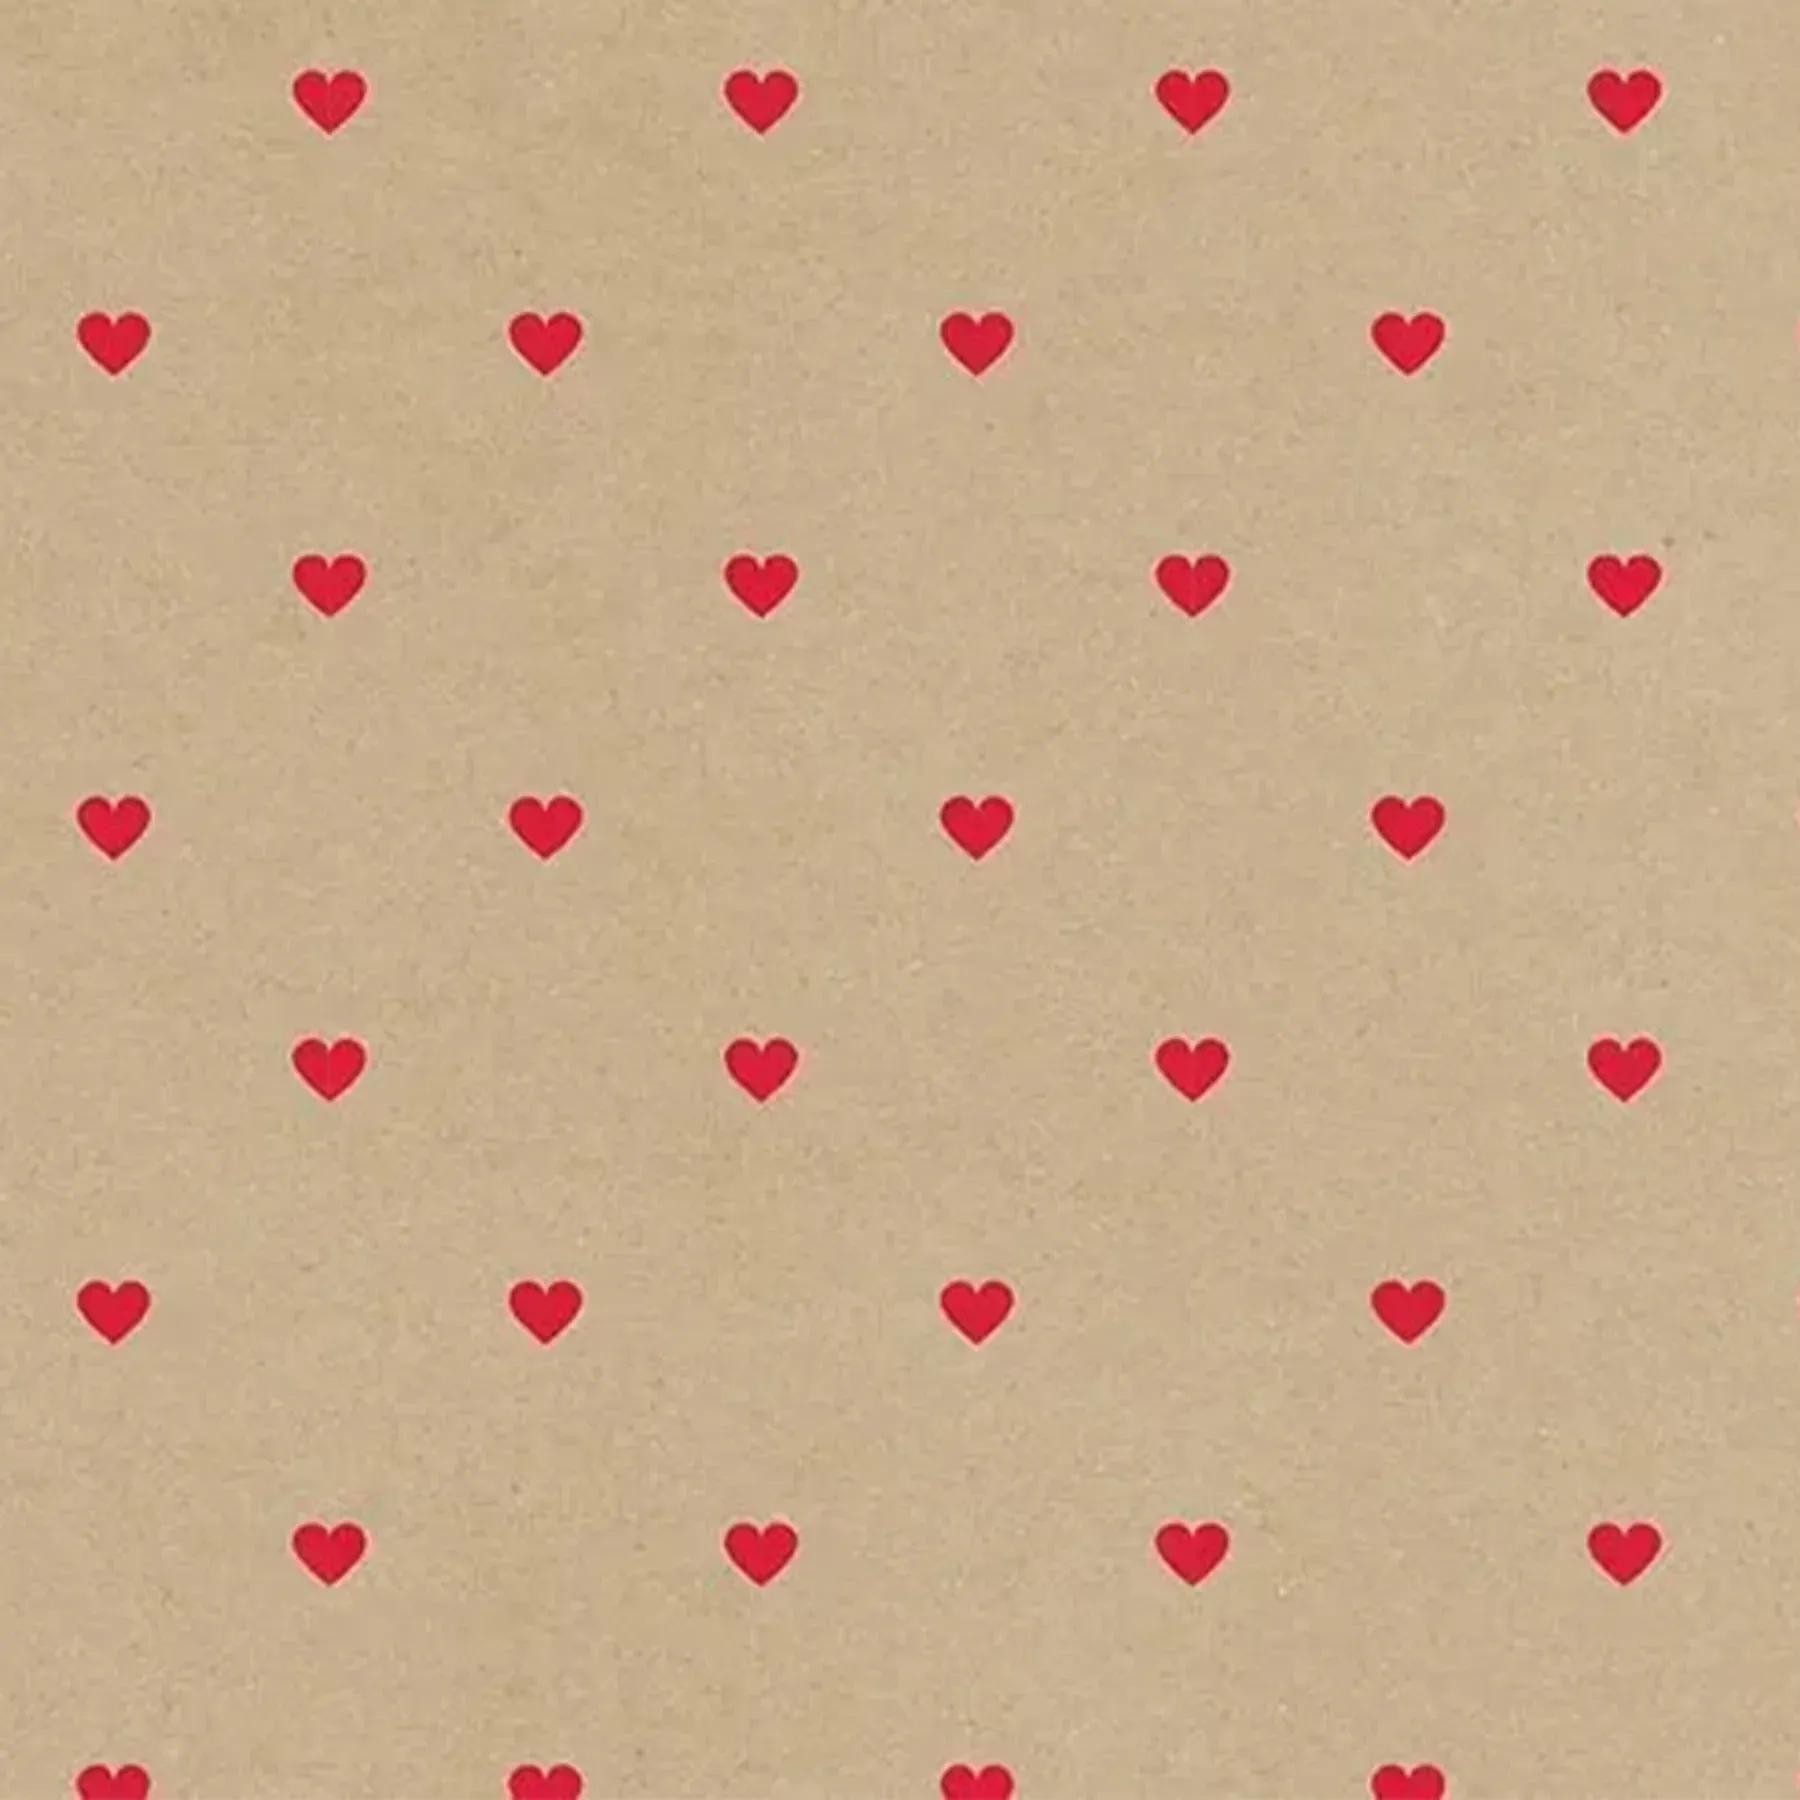
- Kraft paper is warm, rustic and pairs beautifully with twine and greenery.
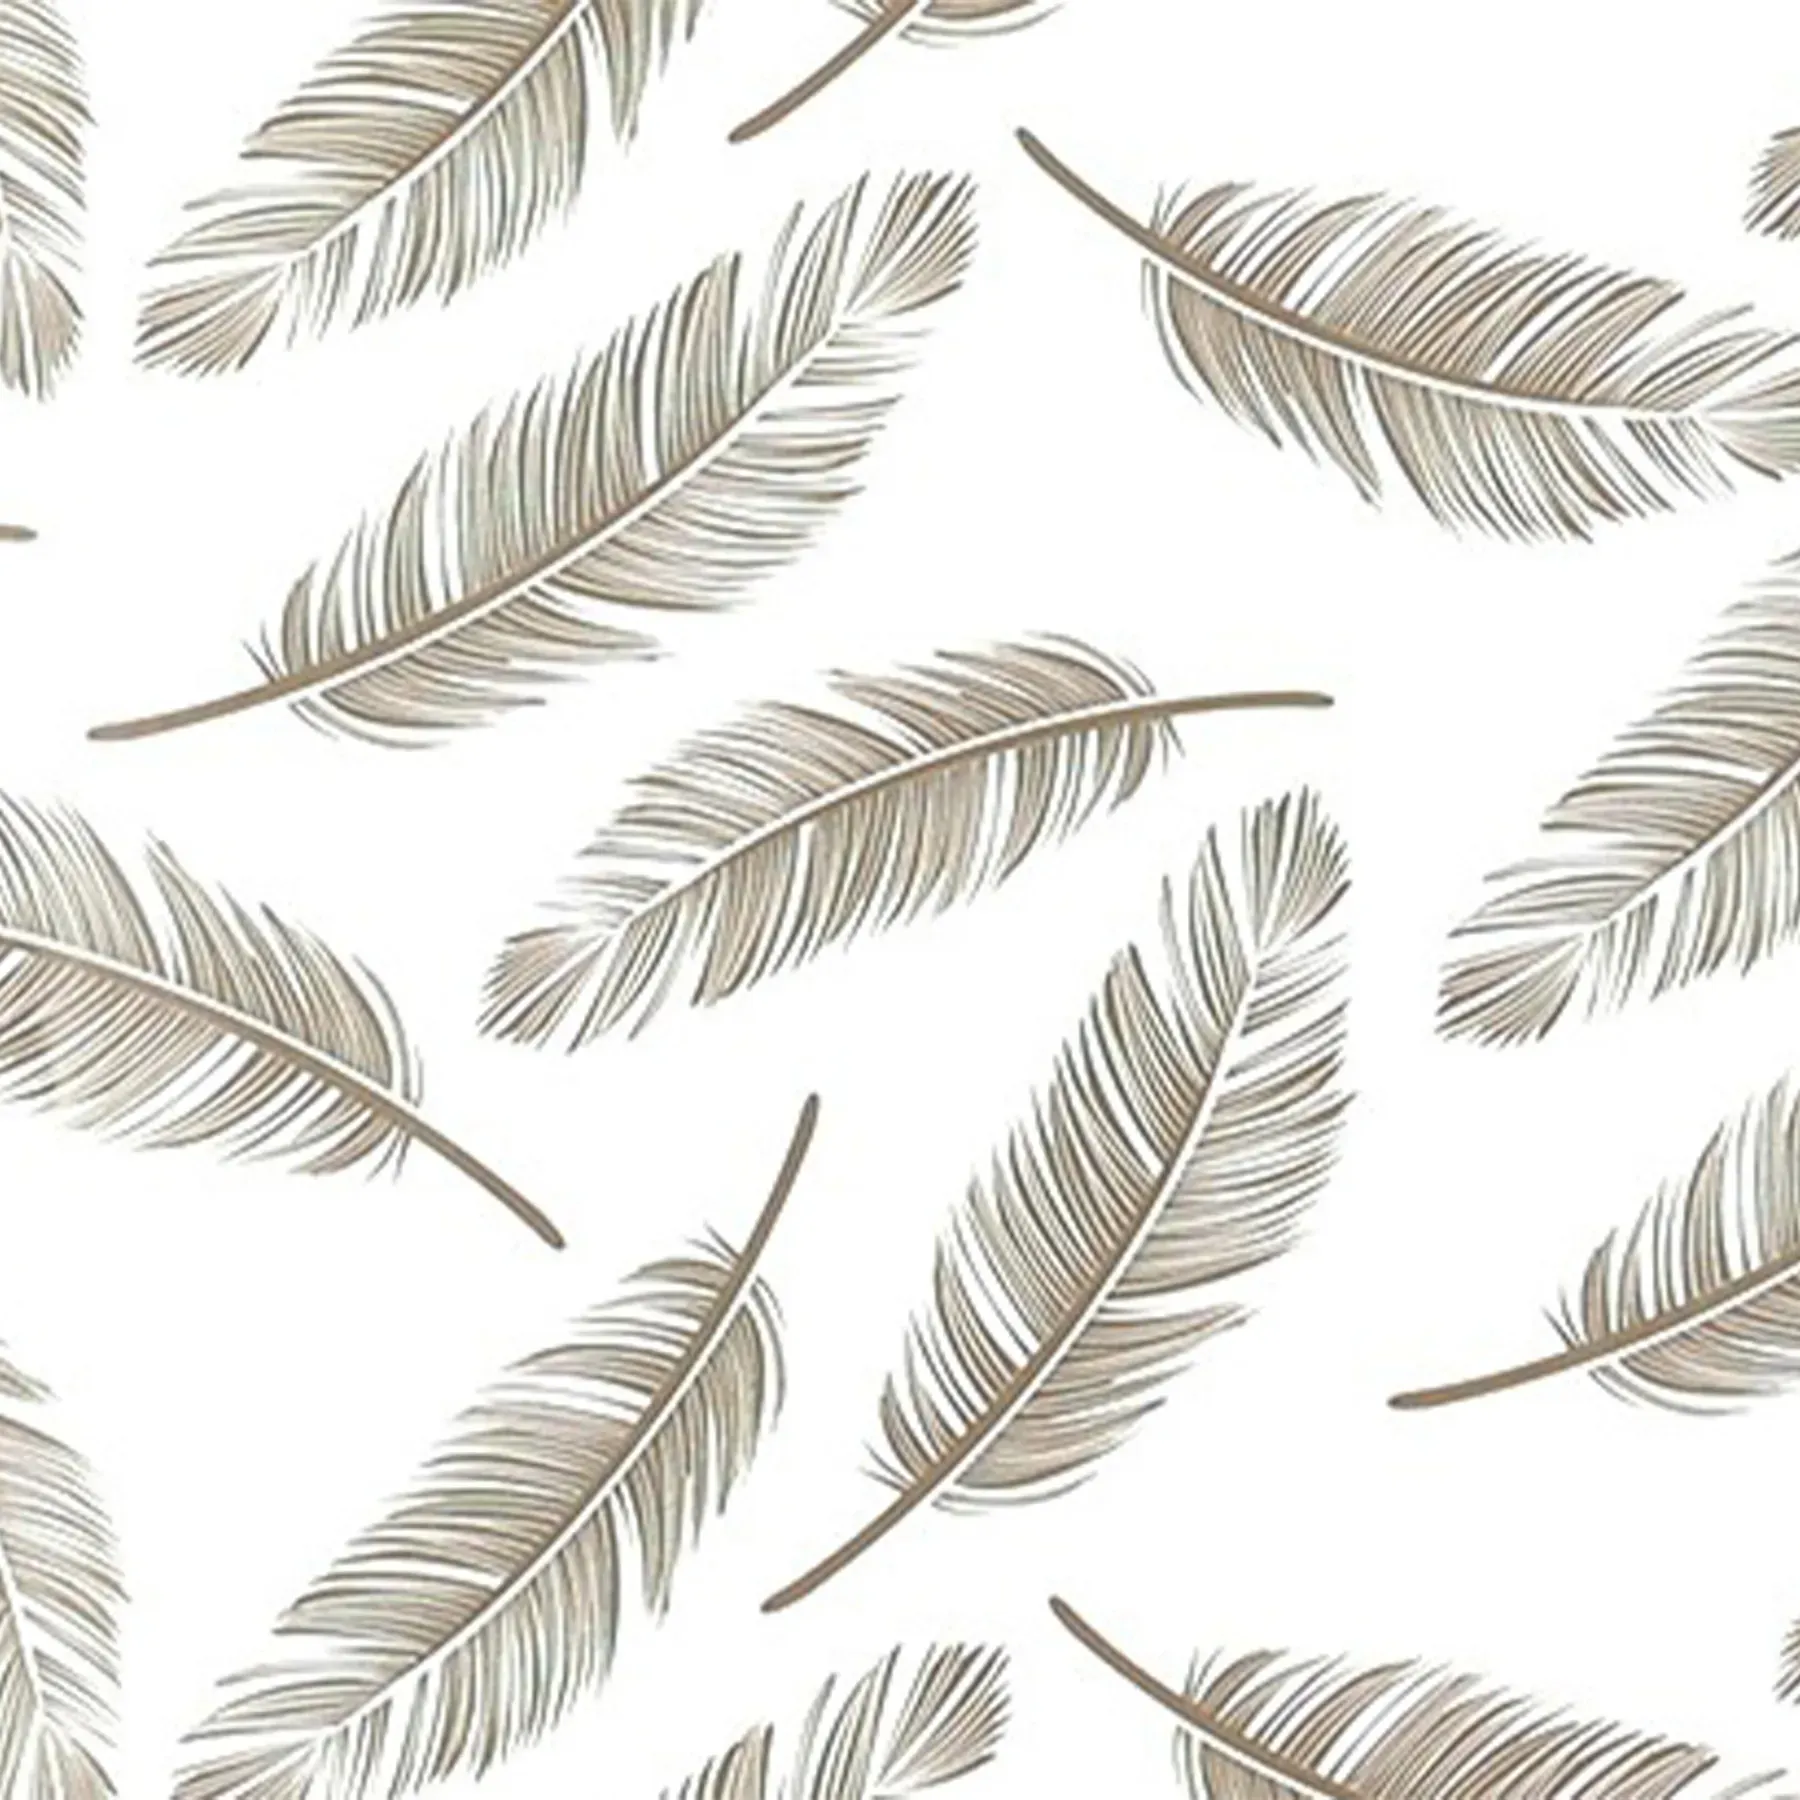
- Light neutral patterns such as feathers suit absolutely anyone.
- Bright playful prints are made for children’s birthdays.
A final tip
Wrap at a clear table, in good light, without rushing. Put on some music and make a cup of tea. Wrapping is a small act of love — and it shows when you enjoy doing it.
Looking for a paper, box and card that go together? Browse our packaging or ask us to suggest a combination.